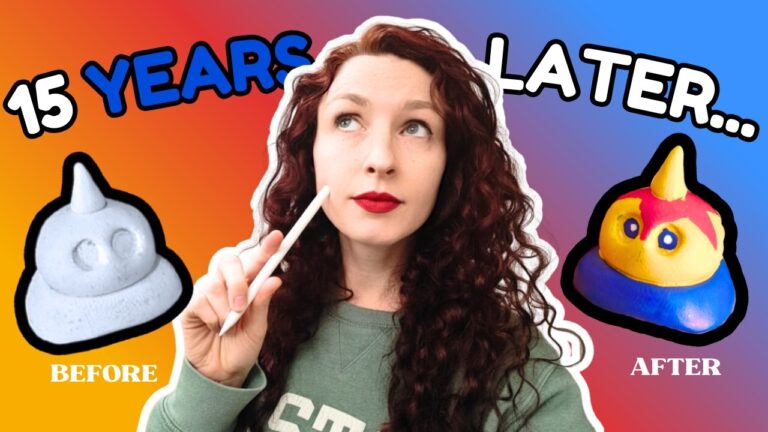
Welcome back to another crafty adventure here at Coco’s Creations! If you caught my last project, you know I recently unearthed some of my original childhood clay sculptures from an old trinket box. They brought back so much nostalgia that I decided they needed some new friends—and a proper place to live.
What started as a simple afternoon of sculpting quickly turned into a multi-step disaster, but we got there in the end! Here’s how I expanded my strange little clay circus family and built them a whimsical DIY shadowbox home.
The Great Clay Disaster (and Redo… and Redo)
The goal was to create three brand-new characters to match the weird, whimsical vibe of the originals:
- The Circus Tent: A fun exercise for my imagination that set the tone for the whole crew.
- The Wacky Twist: A simple clay snake twisted into a funny shape.
- The Silly Snake: A small ball with random, twisty arms of different lengths—channeling my inner child!
For round one, I decided to use air-dry clay, thinking it would be simpler than baking polymer clay. Spoiler alert: It was a major mistake. As the clay dried, my wacky twist character started to slump sadly to the side. When I tried to prime them with gesso, the porous air-dry clay absorbed the moisture and became completely brittle.
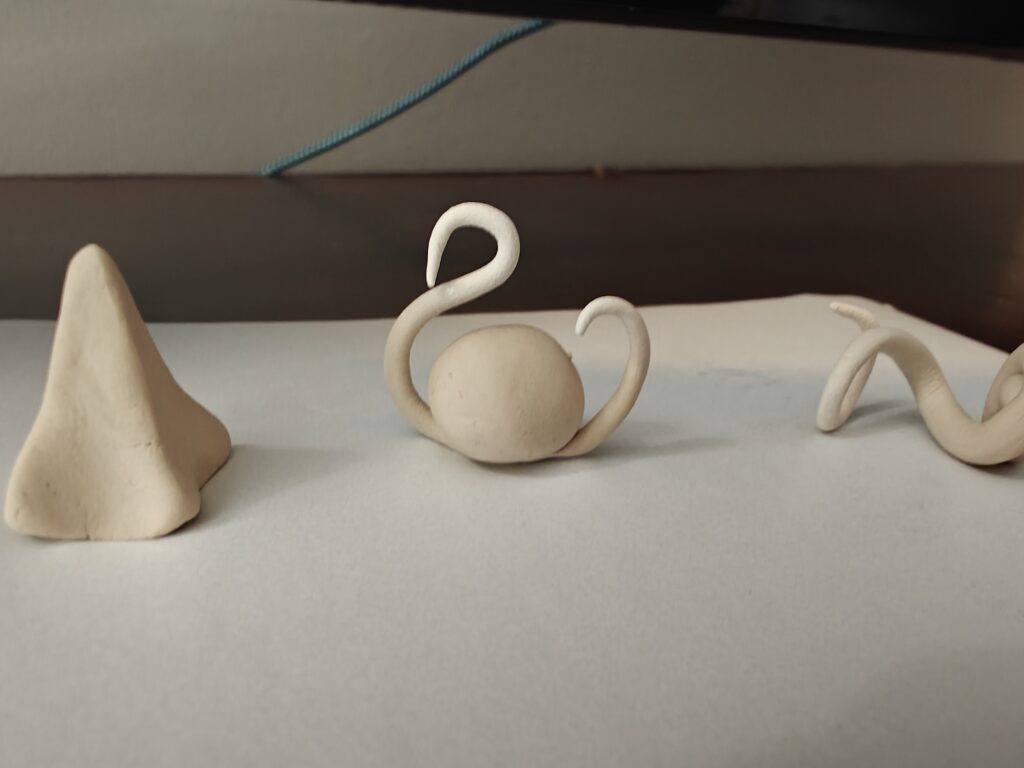
I had to scrap them and start over with polymer clay. Even then, the oven wasn’t kind! Limbs drooped and figures leaned, which meant I had to sculpt them a third time, this time building them tiny aluminum foil beds for extra support while baking. Finally, we had success! The polymer clay is slightly bendy once baked, which makes them much more durable.
Upcycling a Pizza Box into a Circus Display
While my characters were busy curing (and breaking, and curing again), I got to work on their new home. A huge shoutout to my subscriber, Tara, for suggesting I take my childhood figures out of storage and put them on display!
I disassembled an old black shadowbox and grabbed an empty pizza box to create some custom shelving. Here is my pro-tip for crafting with cardboard:
Crafting Hack: Cut your cardboard to size and double it up for strength. If you want a thick surface to fold cleanly, score it first by gently running a pen or craft knife down the fold line before bending.
To make the shelves a little cuter, I measured the width, drew a simple scallop pattern, cut them out, and gave them a quick coat of paint.
Painting: The Accidental American Flag
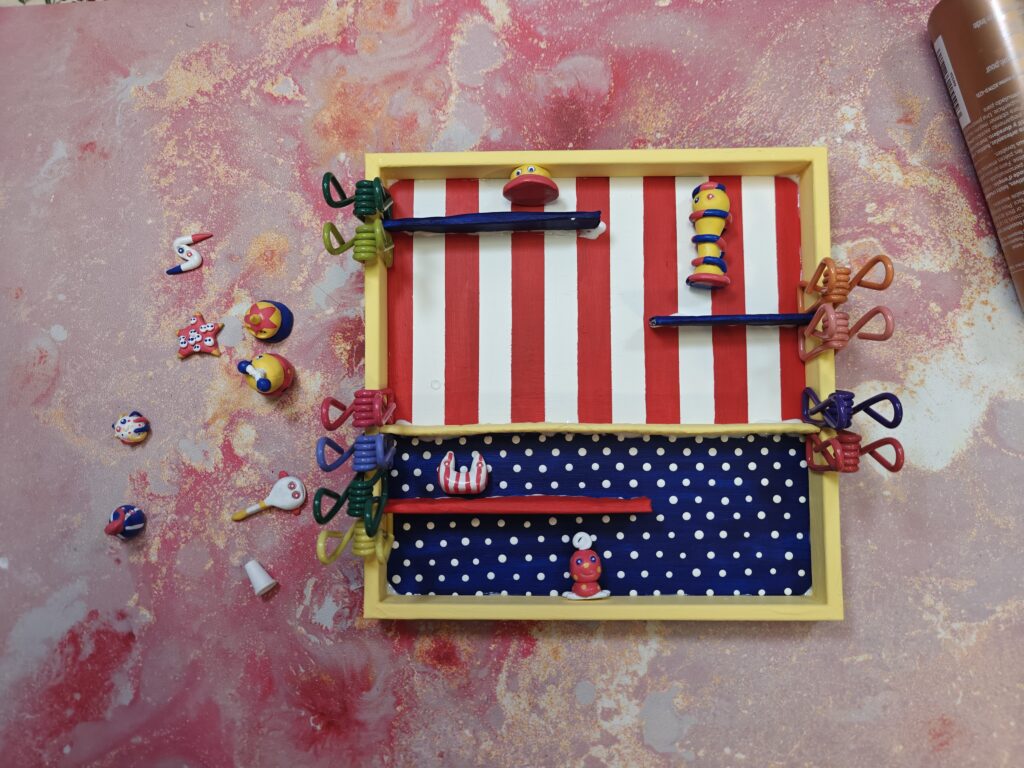
I wanted to stick to a limited color palette for this project, utilizing just red, blue, and yellow to match the circus theme.
The painting process was a bit of a rollercoaster. My yard-sale yellow paint was completely dried out, my backup was aggressively neon, and the third option was basically orange. The blue paint was so transparent it took several patchy coats to look solid.
When I finally moved on to adding the red circus stripes with some satisfying tape pulls, I realized something funny. Between the red and white stripes and the blue color block at the bottom (which I later filled with little white star-dots), the display ended up looking exactly like the American flag! Considering our country is turning 250 years old this year, I decided to just lean into it.
The Final Reveal
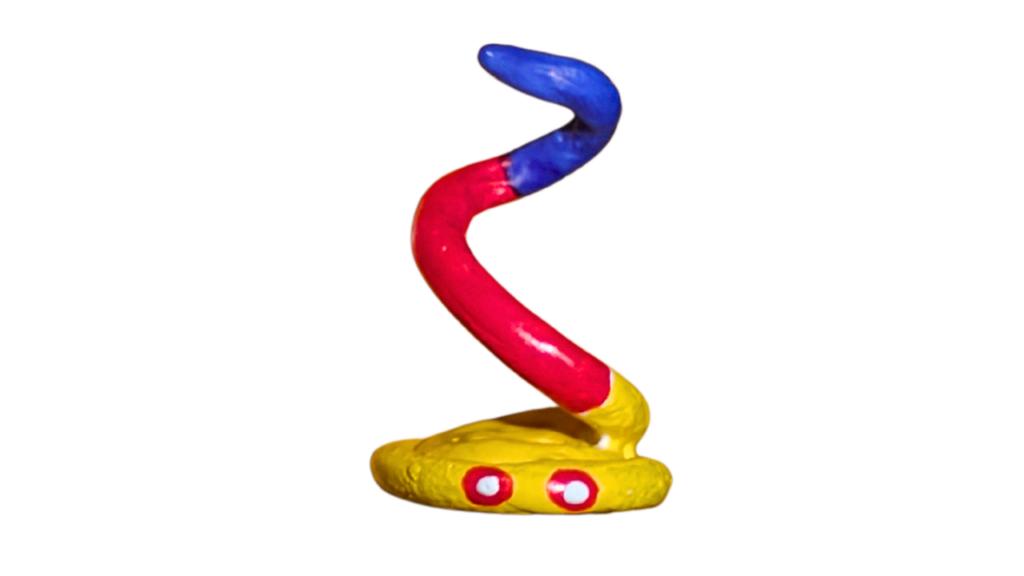
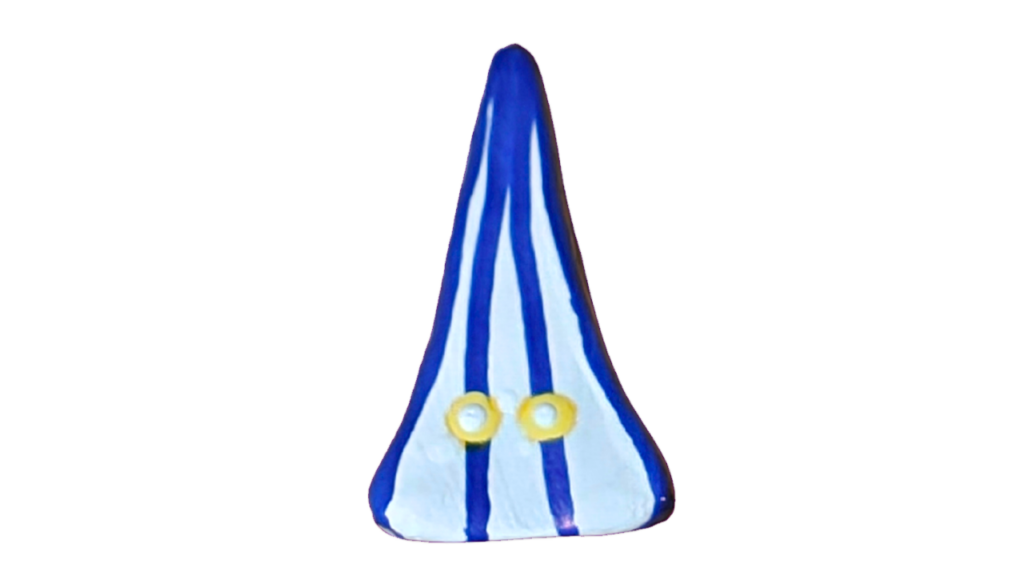
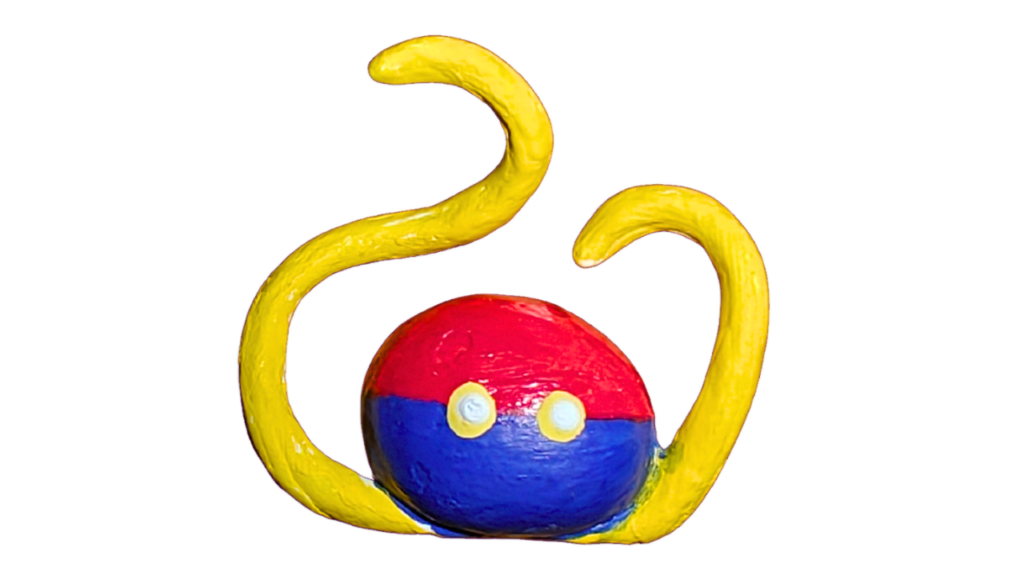
After a quick coat of varnish to protect the paint, I glued the scalloped shelves into the shadowbox, added a few tiny handmade accessories, and finally moved the circus crew into their new home.
I am absolutely thrilled with how this display turned out, and I love having these whimsical little characters out where I can see them.
I need your help! I still haven’t named the three new characters. Drop your best name ideas in the comments below, and let me know which of the three is your favorite!